Demo: Deploy a Webserver
Overview
Teaching: 5 min
Exercises: 20 minQuestions
How can I visualize my workflows?
How do I deploy my Argo GUI?
Objectives
Prepare to deploy the fileserver that mounts the storage volume.
Submit your workflow and get the results.
Minikube
This episode is relevant when working on the Google Kubernetes Engine, as will be done during the hands-on session of the workshop. If you are going through these pre-exercises on minikube, just read this as part of your information, but do not work through it.
Accessing files via http
With the storage pod, you can copy files between the storage element and the CloudConsole. However, a practical use case would be to run the “big data” workloads in the cloud, and then download the output to your local desktop or laptop for further processing. An easy way of making your files available to the outside world is to deploy a webserver that mounts the storage volume.
We first patch the config of the webserver to be created as follows:
mkdir conf.d
cd conf.d
curl -sLO https://raw.githubusercontent.com/cms-opendata-workshop/workshop-payload-kubernetes/master/conf.d/nginx-basic.conf
cd ..
kubectl create configmap basic-config --from-file=conf.d -n argo
Then prepare to deploy the fileserver by downloading the manifest:
curl -sLO https://github.com/cms-opendata-workshop/workshop-payload-kubernetes/raw/master/deployment-http-fileserver.yaml
- Open this file and again adjust the
apiVersiontoapps/v1and NUMBER=1 as the following:
# deployment-http-fileserver.yaml
apiVersion: apps/v1
kind: Deployment
metadata:
  labels:
    service: http-fileserver
  name: http-fileserver
spec:
  replicas: 1
  strategy: {}
  selector:
    matchLabels:
      service: http-fileserver
  template:
    metadata:
      labels:
        service: http-fileserver
    spec:
      volumes:
      - name: volume-output
        persistentVolumeClaim:
          claimName: nfs-1
      - name: basic-config
        configMap:
          name: basic-config
      containers:
      - name: file-storage-container
        image: nginx
        ports:
        - containerPort: 80
        volumeMounts:
          - mountPath: "/usr/share/nginx/html"
            name: volume-output
          - name: basic-config
            mountPath: /etc/nginx/conf.d
Apply and expose the port as a LoadBalancer:
kubectl create -n argo -f deployment-http-fileserver.yaml
kubectl expose deployment http-fileserver -n argo --type LoadBalancer --port 80 --target-port 80
Exposing the deployment will take a few minutes. Run the following command to follow its status:
kubectl get svc -n argo
You will initially see a line like this:
NAME                          TYPE           CLUSTER-IP   EXTERNAL-IP   PORT(S)        AGE
http-fileserver               LoadBalancer   10.8.7.24    <pending>     80:30539/TCP   5s
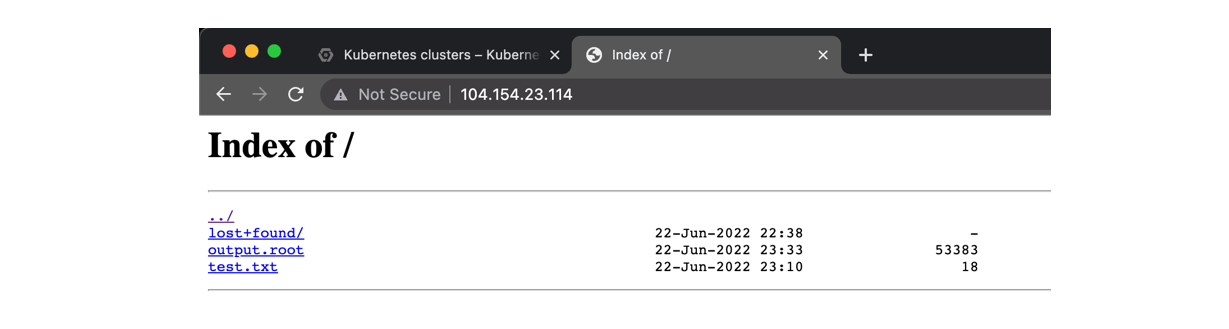
Wait a couple minutes recheck the previous command, copy your EXTERNAL-IP and paste it on a new tab, it should look something like this:

The <pending> EXTERNAL-IP will update after a few minutes (run the command
again to check). Once it’s there, copy the IP and paste it into a new browser
tab. This should welcome you with a “Hello from NFS” message. In order to
enable file browsing, we need to delete the index.html file in the pod.
Determine the pod name using the first command listed below and adjust the
second command accordingly.
kubectl get pods -n argo
kubectl exec http-fileserver-XXXXXXXX-YYYYY -n argo -- rm /usr/share/nginx/html/index.html
Warning: anyone can now access these files
This IP is now accessible from anywhere in the world, and therefore also your files (mind: there are charges for outgoing bandwidth). Please delete the service again once you have finished downloading your files.
kubectl delete svc/http-fileserver -n argoRun the
kubectl expose deploymentcommand to expose it again.
Argo GUI
Check the services running and the associated IP addresses:
kubectl get svc -n argo
kubectl -n argo port-forward deployment/argo-server 2746:2746
Once it has started fowarding the port we will have to manually enable the port, to do this open a new cloud shell tab and run the following command:
lynx https://localhost:2746
Access it and then quit. Return to the previous tab and you will see that the port is being accessed and handled, you can exit with ^C and finally patch the service with:
kubectl patch svc argo-server -n argo -p '{"spec": {"type": "LoadBalancer"}}'
Since it is creating an external ip, wait a couple minutes. You can check if it is ready with:
kubectl get svc -n argo
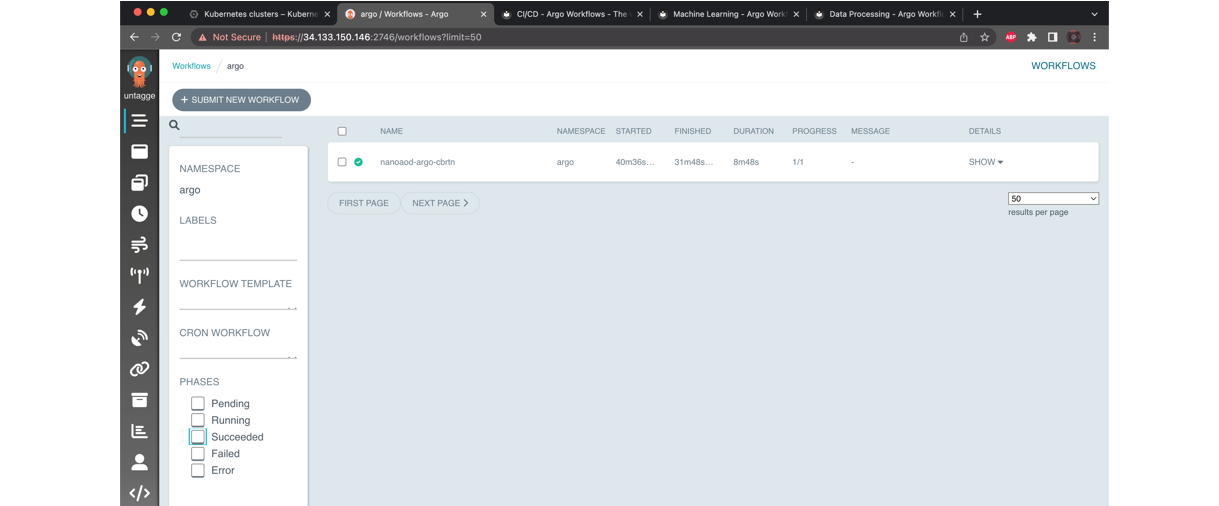
- Finally, you can access this address in your localhost. Do not forget to add “https://” and “:2746”
- Click on Advanced, proceed to
(unsafe) and voilà
Key Points
With a simple but a tight yaml structure, a full-blown analysis can be performed using the Argo tool on a K8s cluster.