learners
Setup
Infomaniak
Account and project
Create an Infomaniak account by following “Get started for free” from the Infomaniak entry page.
To start the free trial for cloud resources (300 EUR/CHF), you need to order a “public cloud”. A credit card number (or Twint in Switzerland) is needed. You will not be charged during the free trial.
If you plan to work in a group, one of the group can order the “public cloud” and create the recourses within, and others can be added as users. They will be asked to create an Infomaniak account, but they do not need to start their free trial.
In you work as a user, you can go directly to Adding users.
Choose “Cloud Computing” from the left bar and select “Public Cloud”.
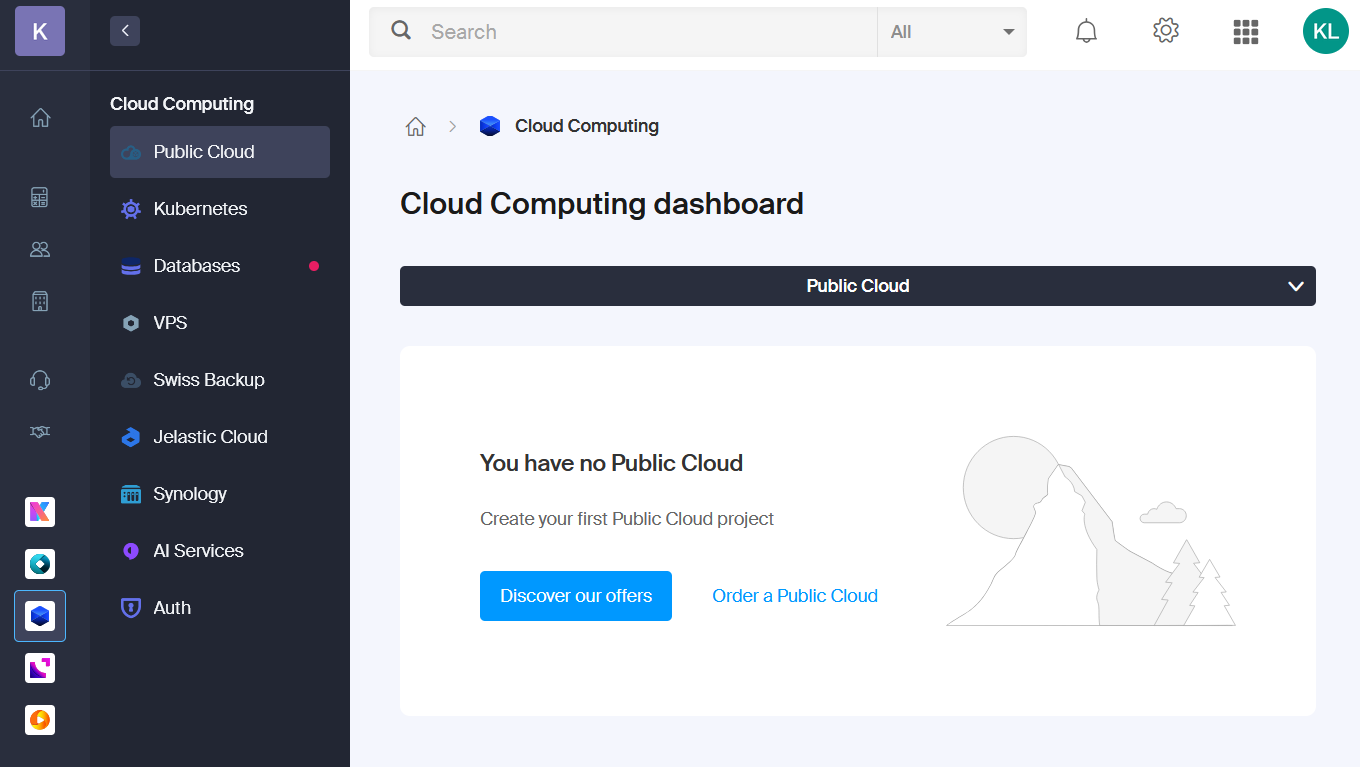
Click on “Order a Public Cloud” and give it a name. In the following steps:
- a phone number is requested to confirm your identity.
- you will be shown a number to call for verification (the confirmation is automatic when you call).
- provide an address.
- skip the suggested back-up option.
- in the final step, a credit card is requested (there are no charges for an empty project).
Creating your “Public Cloud” might take a while. First, after some time after placing the order, a request for ID verification will appear on the Administration console. You will be asked to install Infomaniak Check app on your phone. You will be shown a QR code which you can scan with the app. To identify, you will need to scan your passport or ID card, and take a selfie with that document. Then, once the verification is ready, your project will appear on the Cloud Computing dashboard.
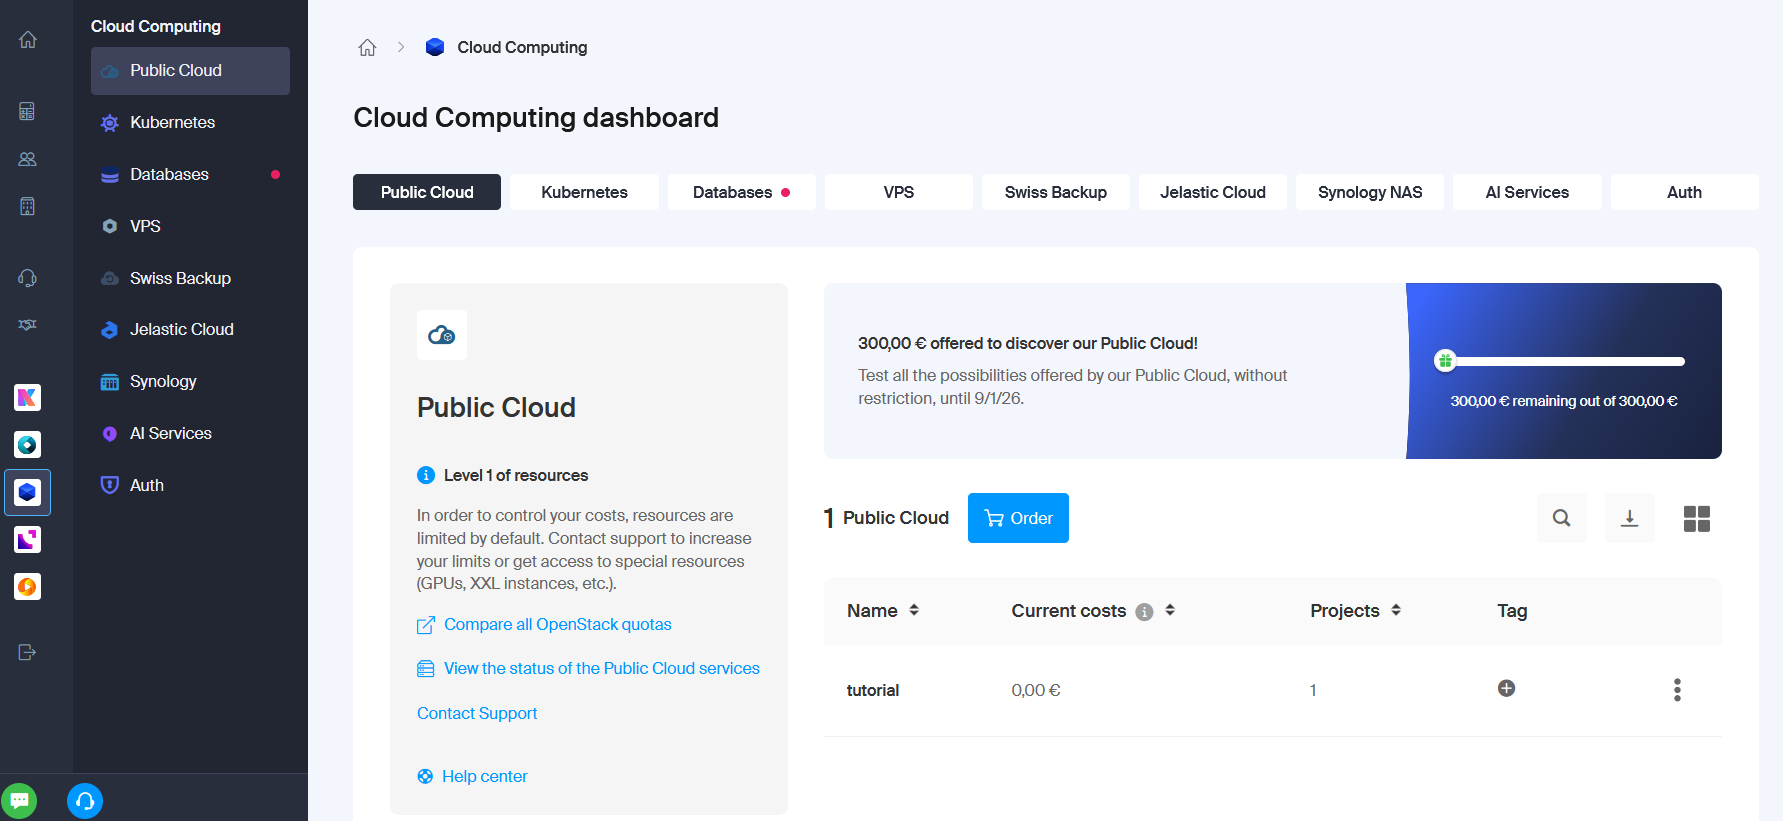
Start a project following the Infomaniak instructions.
The OpenStack password that you will be asked to define will be needed to access the storage in this tutorial. Do not forget it!
OpenStack access
Once the Public Cloud project has been created, you will find it on your public cloud page.
See the Infomaniak instructions about managing your project, and download the OpenStackRC file to the working area on your computer.
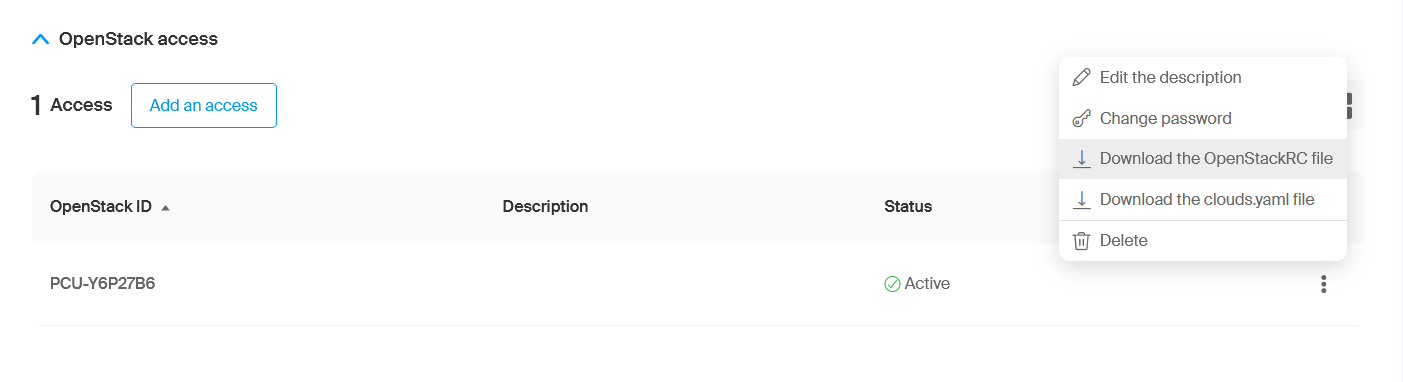
When prompted, keep the suggested region. The file is named as PCU-XXXXXX-openrc.txt where PCU-XXXXXX is the OpenStack ID of your project.
Adding users
If you work in the group, the owner of the project can add give other people access to the storage area. In the project view, click on “Add an access”
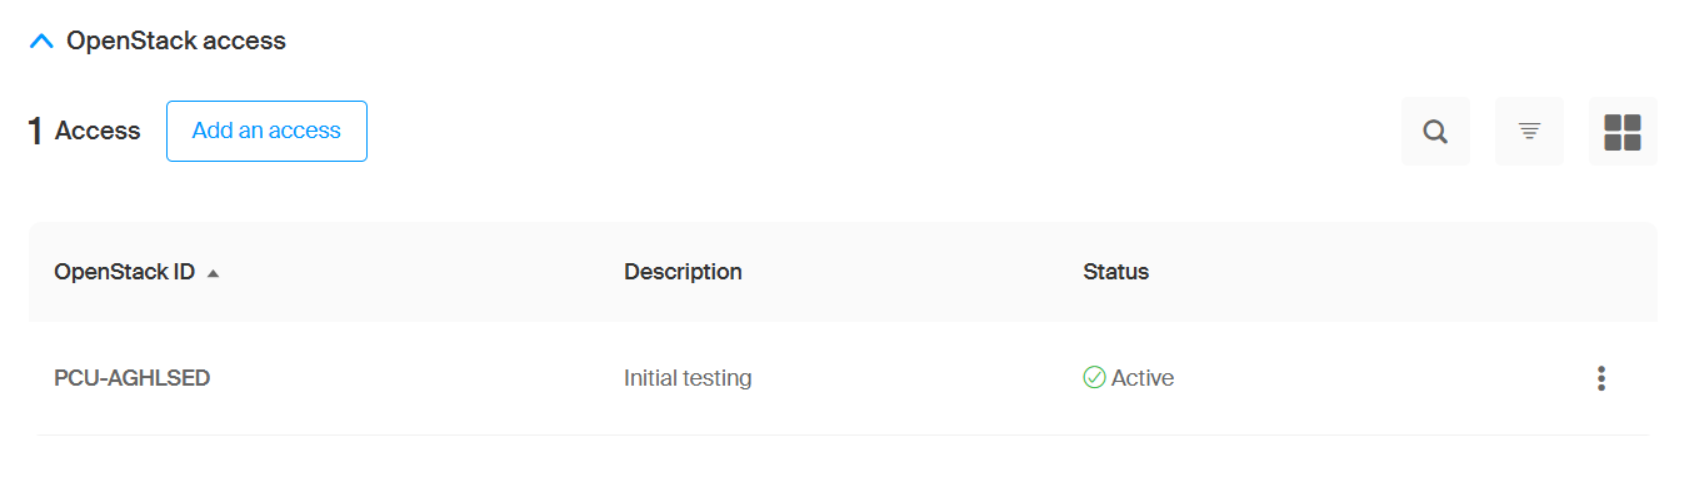
You can choose to send the procedure by email, and the new user will create their Infomaniak account. They will then create their own OpenStack access password.
Software setup
Get the code
git clone git@github.com:katilp/infomaniak-cloud-test.git  # or: git clone https://github.com/katilp/infomaniak-cloud-test.git if no SSH key
cd infomaniak-cloud-test
Interacting with storage: openstack and swift
If you prefer to avoid interference with your usual Python environment, create a virtual environment in your working directory and activate it:
python3 -m venv venv
source venv/bin/activate
(venv) in front your prompt indicates that this environment has been activated.
The exit command is deactivate.
Install the tools to interact with the storage
pip install python-openstackclient python-swiftclientThe requirements.txt file in the repository contains the Python packages that got installed with the command above and used for testing this lesson. They might be less recent than what you get.
To connect to the project, copy the downloaded PCU-XXXXXX-openrc.txt to your working directory and source it:
source PCU-XXXXXX-openrc.txtIt asks the OpenStack password, which you defined when creating the project.
We will be using object storage in this tutorial. You can check your storage and as it is still empty, you will see something similar to this:
 openstack object store account show
+------------+---------------------------------------+
| Field      | Value                                 |
+------------+---------------------------------------+
| Account    | AUTH_123c4567df4a496e890123456aae9876 |
| Bytes      | 0                                     |
| Containers | 0                                     |
| Objects    | 0                                     |
| properties | quota-bytes='1000000000000'           |
+------------+---------------------------------------+
You can create a storage container named mystorage with
openstack container create mystorageand list the existing storage containers with
openstack container listThere is a cost for the storage (currently 0.000013 €/GB/hour, i.e. 0.11 €/GB/year to save you the math), but not for an empty container so just creating a storage container does not consume the free credit.
You can find the current prices in the Infomaniak cloud services pricing details.
Kubernetes command-line tool: kubectl
kubectl is the tool to interact with the Kubernetes clusters. Install it either on its own or with Docker Desktop.
Running workflows: Argo CLI
The example processing workflow is defined as an “Argo workflow”. To be able to submit it and follow its progress from your terminal, download Argo command-line interface following these instructions:
curl -sLO "https://github.com/argoproj/argo-workflows/releases/download/v4.0.1/argo-linux-amd64.gz"
gunzip "argo-linux-amd64.gz"
chmod +x "argo-linux-amd64"
sudo mv "./argo-linux-amd64" /usr/local/bin/argo # or without sudo to a path (in your PATH) where you can write
Take note that what is under “Controller and Server” in the instructions will be done once the cluster is available, do not do it yet.
Optional for building a customized CMSSW container image: Docker
This tutorial uses a CMSSW open data container image with the pfnano producer code downloaded and compiled. You do not need to install Docker to use it in the context of this tutorial. You need Docker, if you want to modify the code with your selections and build a new container image.
Next step
Once done, read the Introduction, or continue directly to Storage for the output files.