Episode
Kubernetes cluster
Questions
- How to create a Kubernetes cluster on Infomaniak resources?
- How to access the cluster from the command line?
Objectives
- Learn to create a Kubernetes cluster.
- Access the cluster and inspect it from the command line.
Create the cluster
Go to the project view from the Cloud Computing dashboard:
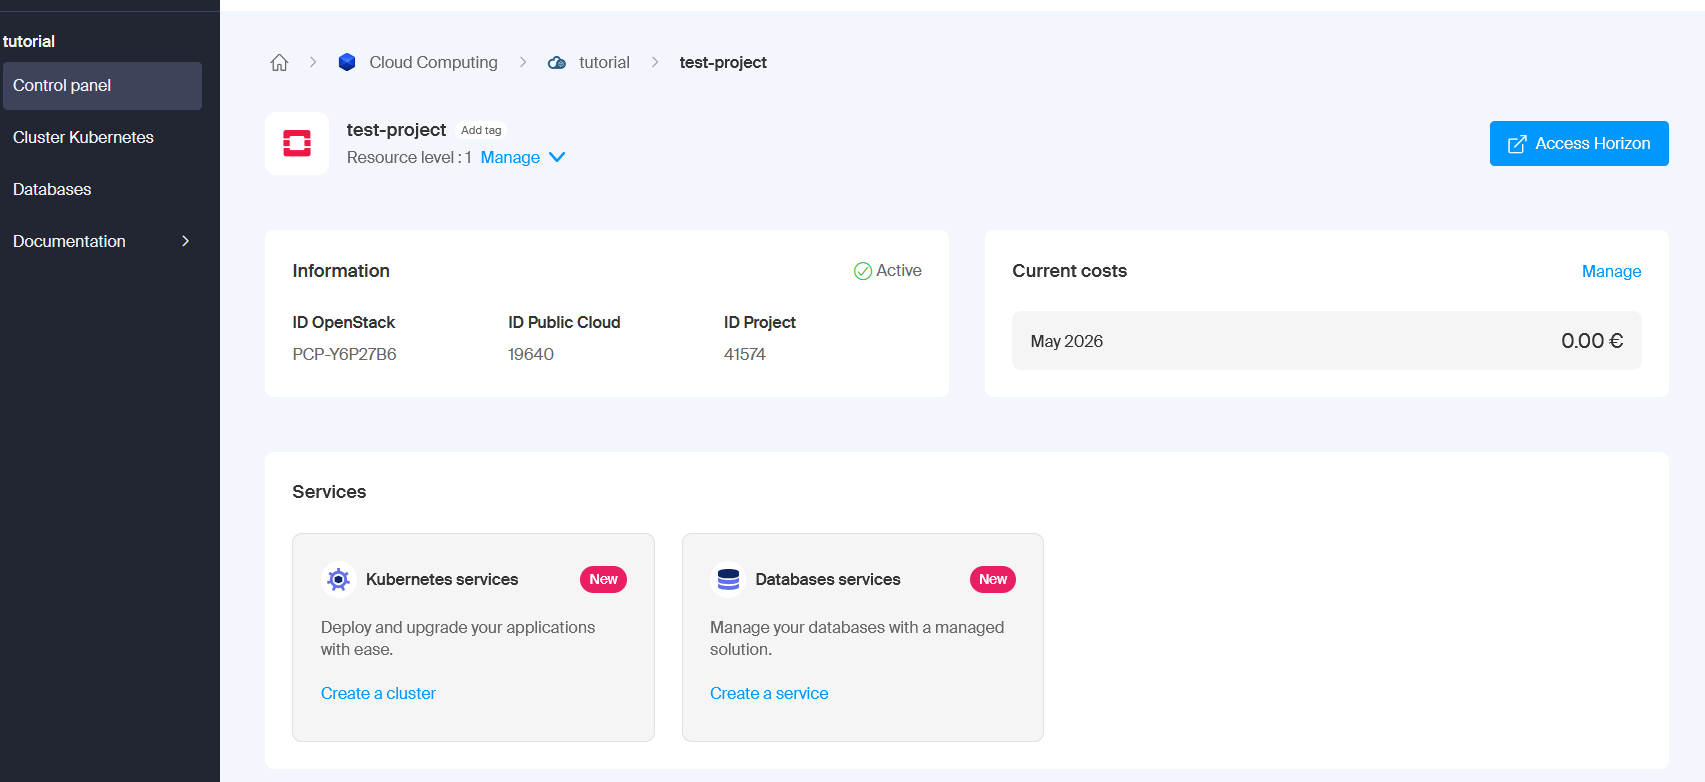
In the Kubernetes services box, click on “Create a cluster” and from the available options, choose “Cluster Dedicated 4”. This selection is for the control plane, i.e. for the part of the cluster that runs various software component to make the cluster work. The selection of the actual computing nodes comes after.
Give a name to the cluster, and keep the defaults for the other options. Click on “Order”. The cluster creation takes some time, 10 minutes or so. If you follow the link to the Control Panel, you will see that the creation is in progress, and once done, you see it marked as “Active”:
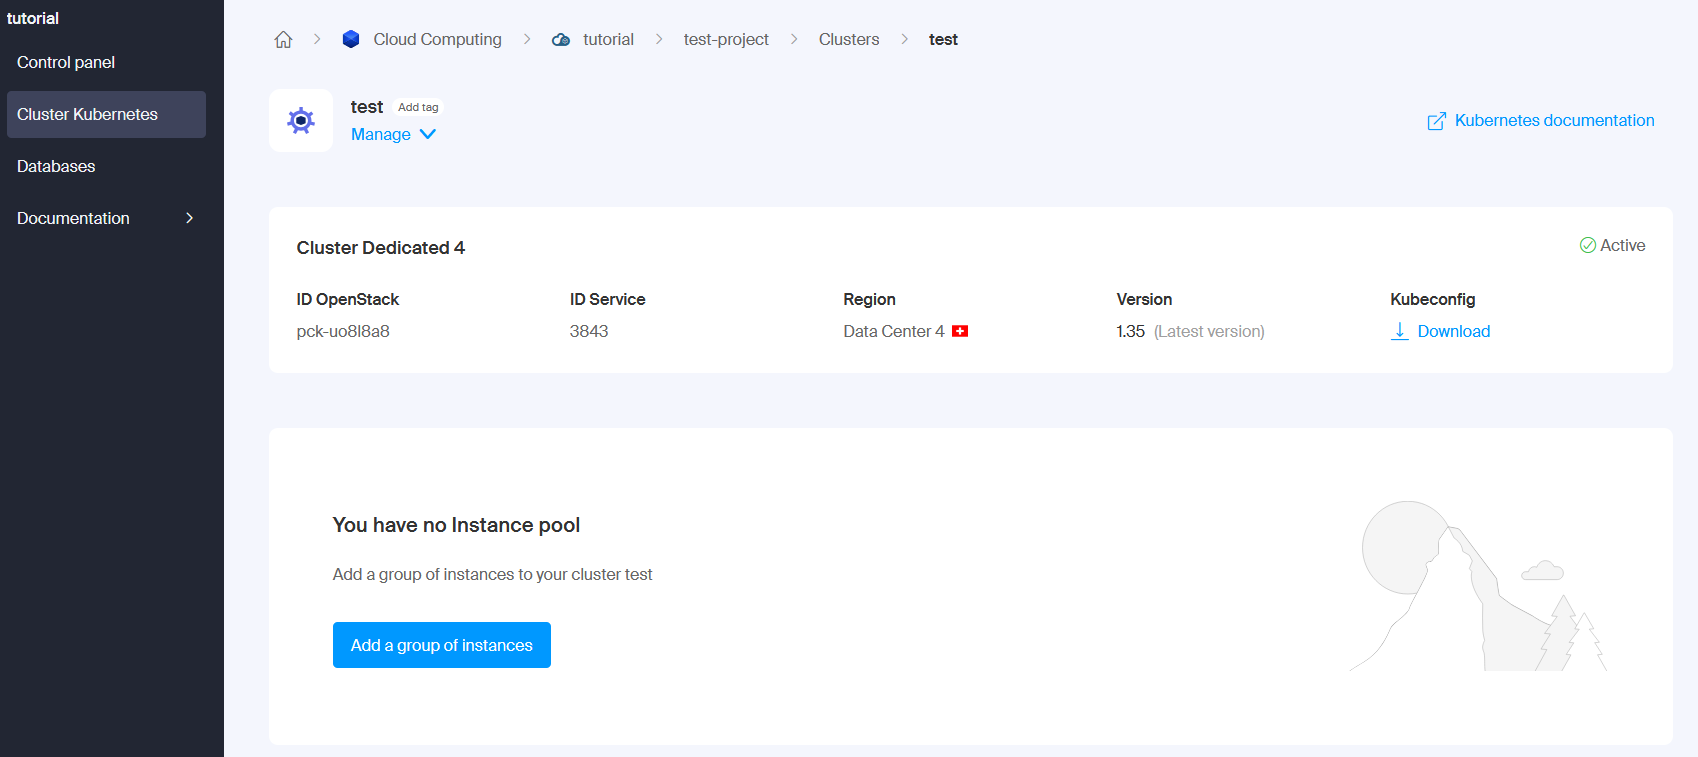
Once the cluster is created, download the Kubeconfig file. The file name is pck-XXXXXX-kubeconfig where pck-XXXXXX is the ID of your cluster.
Copy it to your working directory.
Create the cluster worker nodes (also called the instance pool) by clicking on “Add a group of instances”. Give it a name, and keep the defaults for the other options.
For this tutorial, we will use nodes with 4 vCPUs, 16 GB of RAM and 80 GB of disk. You can use filter options to find them.
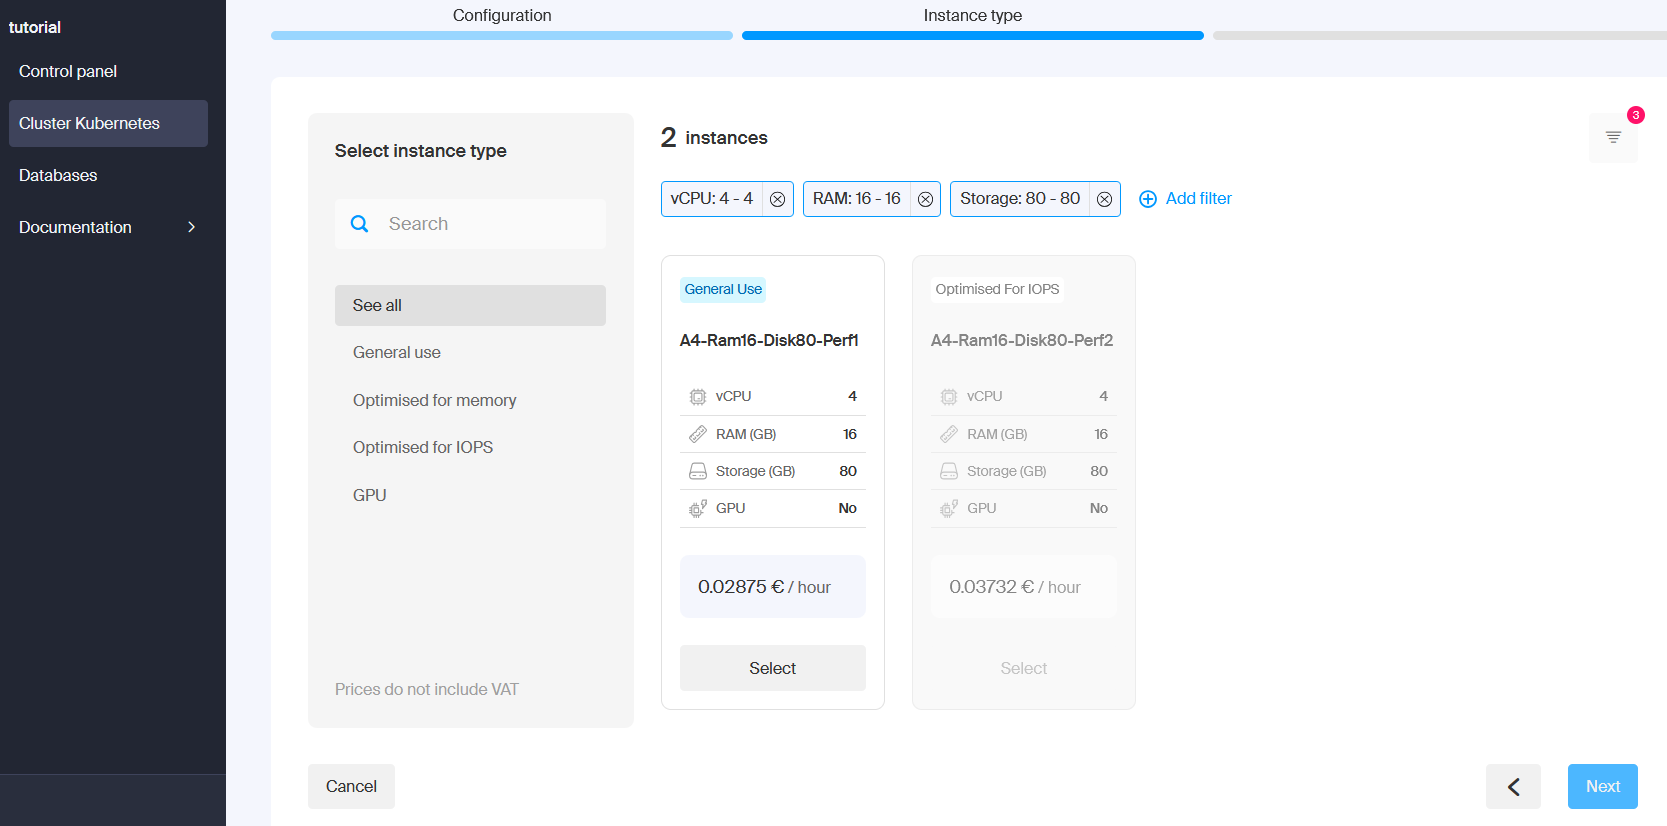
Select this option and click on Next. Keep the instance management “Manual”, and choose the number of nodes. For testing, a small cluster of two nodes is enough. Click on “Order”. You will see the cluster being scaled up on the Control panel:
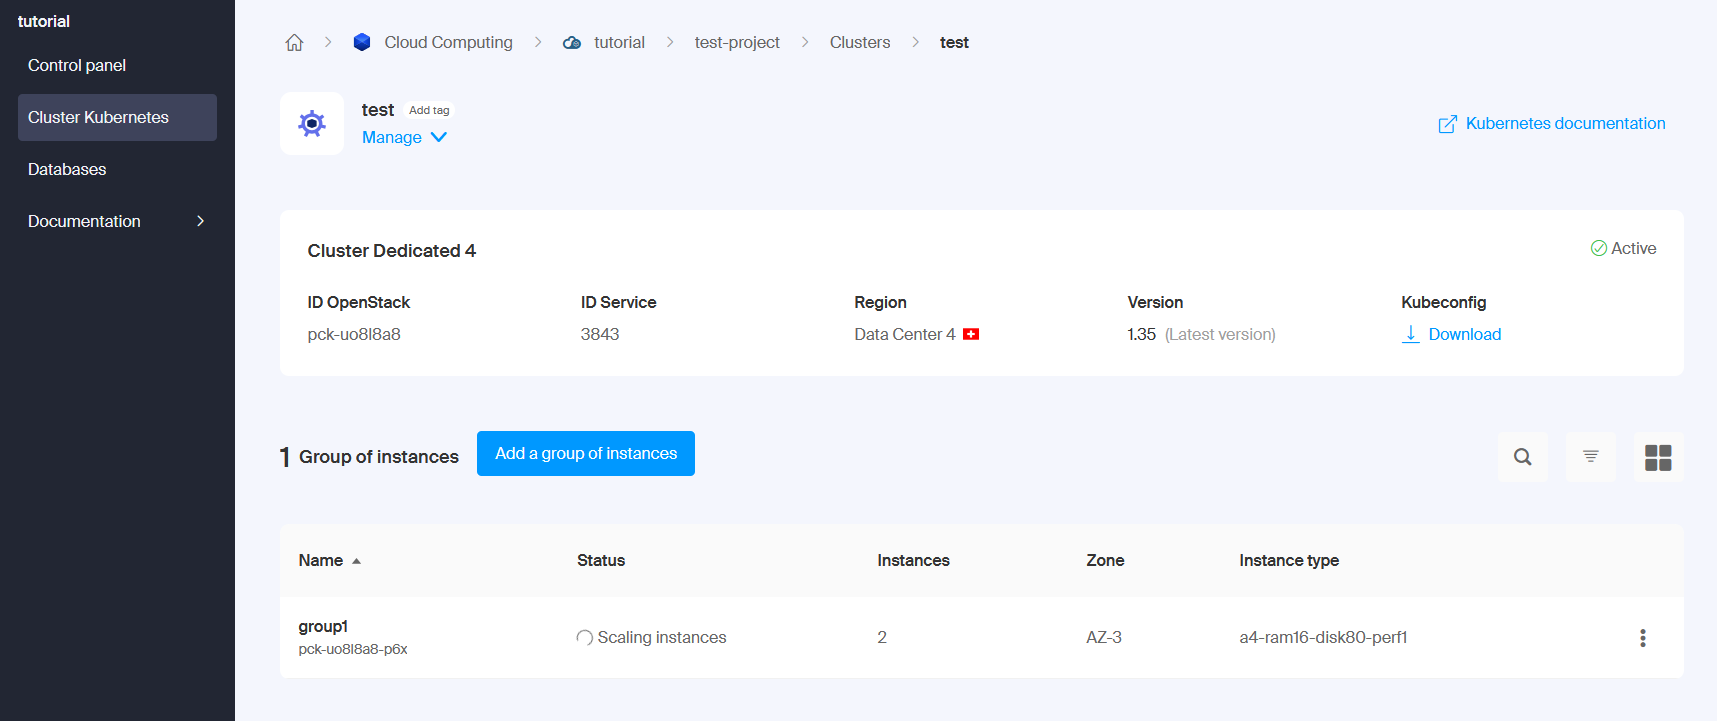
This will take some time, typically less than one hour. While waiting you can follow the link on the Control panel read more about Kubernetes in their docs.
Connect to the cluster
In your working directory, set the KUBECONFIG variable so that you can connect to the cluster (replace XXXXXX with what you have in your downloaded file):
export KUBECONFIG=<path_to_config_file_if_not_local/>pck-XXXXXX-kubeconfigCheck the connection to your cluster with:
$ kubectl cluster-info
Kubernetes control plane is running at https://[IP]
CoreDNS is running at https://[IP]/api/v1/namespaces/kube-system/services/pck-XXXXXX-addon-coredns:udp-53/proxy

To further debug and diagnose cluster problems, use 'kubectl cluster-info dump'.
You can check the nodes, but while the cluster is still scaling up, no resources are found.
$ kubectl get nodes
No resources found
Once ready, you will see them:
$ kubectl get nodes
NAME                          STATUS   ROLES    AGE   VERSION
pck-uo8l8a8-p6x-zxhh7-7f4g7   Ready    <none>   16m   v1.35.1
pck-uo8l8a8-p6x-zxhh7-trtmj Ready <none> 16m v1.35.1kubectl command above can show them as Ready, but they can still be unschedulable. You will see the cluster marked as “Active” in the Cluster control panel web UI, or you can check the parameter “Unschedulable” to be set as “False” in the output of kubectl describe node <node name>Costs
Cluster management
There’s a cluster management fee that depends on the type of the control plane. For the one used in this tutorial it is about 0.04 €/hour, independent of the cluster size.
CPU and memory
For the type of nodes (4 vCPUs, 16 GB RAM, 80 GB disk) that we use for this tutorial, the cost of one computing node is about 0.03 €/hour.
Key Points
- Kubernetes clusters can be created from the Web GUI
kubectlis the tool to interact with the cluster.